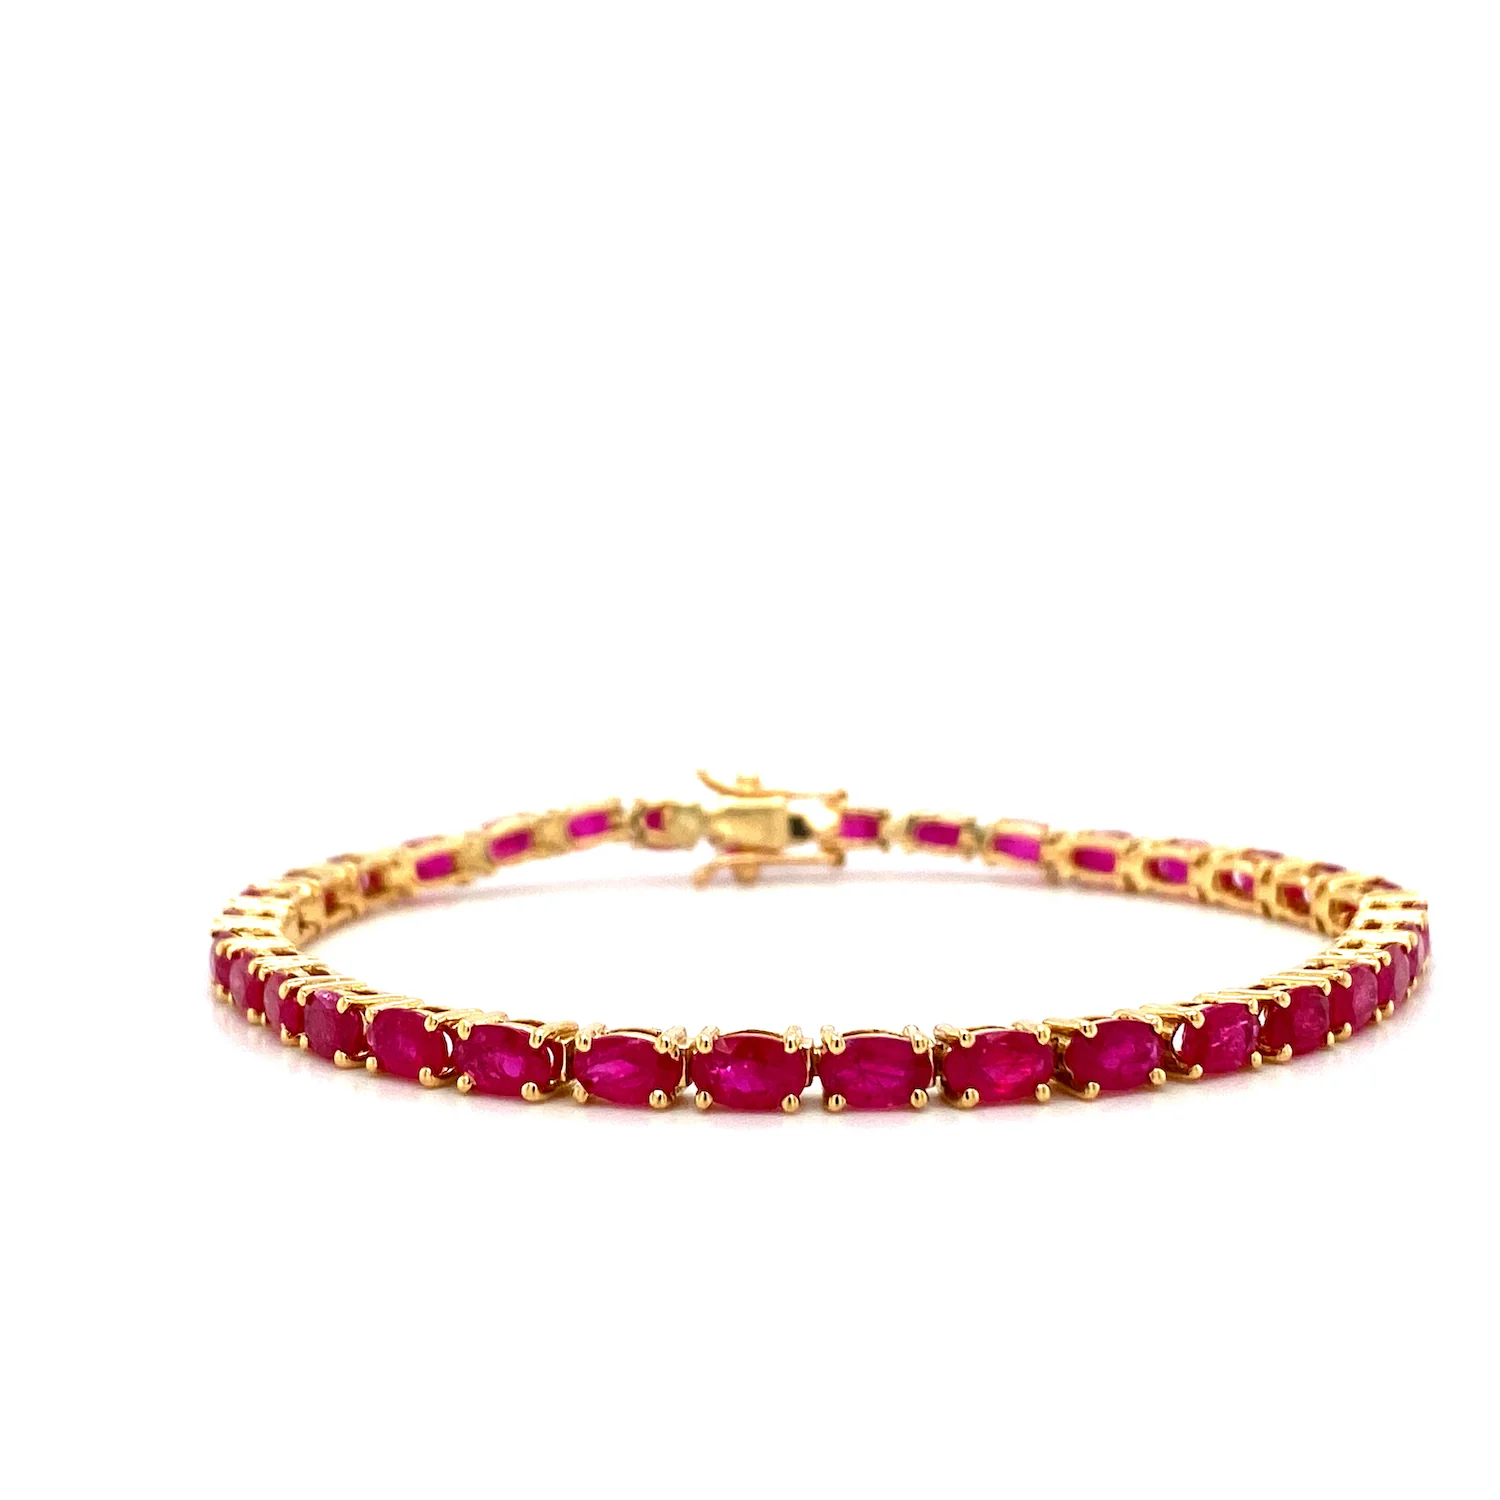
Jewelry is a profound expression of individuality and style. Among the many gemstones, rubies stand out with their deep red hue, symbolizing passion, protection, and prosperity. Designing a custom-made ruby bracelet is not only a creative endeavor but also a deeply personal one. Here’s a step-by-step guide to help you bring your vision to life.
Style and Type Begin by determining the overall style of your bracelet. Do you prefer something classic or modern? Vintage or bohemian? The type of bracelet is also crucial: a delicate chain, a solid bangle, a flexible cuff, or a string of beads can set the tone for your design.
Inspiration Look for inspiration from various sources—nature, art, fashion trends, or even other pieces of jewelry. Sketch your ideas or create a mood board to visualize your concepts.
Quality Matters Rubies vary greatly in quality, affecting their beauty and value. Consider these factors:
Natural vs. Synthetic Natural rubies are mined and may have unique inclusions and variations, while synthetic rubies are created in labs and often more affordable. Both can be stunning, but the choice depends on your preference and budget.
Metals Select a metal that complements the rubies. Options include:
Accents and Embellishments Consider adding other gemstones or diamonds to accentuate the rubies. Decorative elements like filigree, engraving, or unique clasps can also enhance the bracelet’s beauty.
Research and Recommendations Look for jewelers who specialize in custom designs. Check reviews, seek recommendations, and review their previous work to ensure they can bring your vision to life.
Collaboration Work closely with your jeweler. Share your sketches and ideas, discuss the feasibility, and be open to their expert suggestions. The collaboration will help refine your design and ensure it meets your expectations.
Approval Before the final crafting begins, review a prototype or digital rendering of your design. Make any necessary adjustments to ensure it’s perfect.
Craftsmanship Once approved, the jeweler will meticulously craft your bracelet. This process may take several weeks, depending on the complexity of the design.
Unveiling When your custom ruby bracelet is ready, it’s time to unveil and enjoy your unique piece of jewelry. Wear it with pride, knowing it’s a one-of-a-kind creation made just for you.
Creating a custom-made ruby bracelet is a rewarding journey that results in a unique and personal piece of jewelry. By carefully considering each step—from design and material selection to collaborating with a skilled jeweler—you can craft a bracelet that not only captures the beauty of rubies but also reflects your individual style and story. Whether it’s a gift for a loved one or a special treat for yourself, a custom ruby bracelet is a timeless treasure that will be cherished for years to come.
